
2. Customize
📝 Table of Contents
This will walk you through how to use the SquareSpace builder to customize your template. Most of the videos have chapters that allow you to skim through to find the information you’re looking for If you have any questions that aren’t covered here, reach out and let me know.
1. Initial Setup
The first thing we’re going to do is go through the quick onboarding process and start exploring the Squarespace dashboard.
The dashboard includes several main features, such as pages, design, commerce, marketing, and an asset library. You can upload images and organize them into different folders, and access analytics where you can see your traffic sources and sales. Additionally, the design tab allows users to customize elements such as their browser icon and lock screen.
2. Watch This First 🚨
Before you start customizing your Squarespace template, you NEED to watch this video.
Squarespace has a feature called 'Saved Sections' which allows you to save sections and use them later on in your design. This is important, because if you don't pre-emptively 'save' the pre-built page-sections in the template, then there's no way to get them back if you change them (or accidentally delete them).
Saved Sections are unique to the logged-in user, so there’s no way for me to include them in the template beyond this method. Please do not skip this step.
3. Migrating Websites
If you’re migrating from another website, the biggest thing you’ll want to prioritize is making sure the majority of the content from your old site gets transferred over to your new site. This includes things like:
Text, descriptions and copy
Images & graphics
You don’t have to transfer everything perfectly, as you may want to add new copy to your site, or leave some things out from your old design. We just need to make sure enough of the text/headlines are the same so you can continue getting any traffic that Google is sending your way.
Unfortunately there’s no automated way to transfer content from one site to another, so I recommend just loading up both sites on your monitor and copy/pasting your text/copy from the old site to the new one. For images you’ll probably need to save them to your computer and re-upload them to the new template.
This process shouldn’t take too long, but keep in mind that you’ll want to copy the content from all pages that you want to have on the new site, including your about, blog and contact pages.
301 Redirects
If you’re moving from another website that has multiple sub-pages (such as service pages, or blog posts) then you might want to consider using 301 redirects. 301 redirects direct visitors to a different URL when they click a link to a nonexistent page. They tell search engines that a page has moved, and search engines transfer the old page's rank to the new page.
For example, let’s say your current website has a service page for social media videos, and the current URL is:
https://www.brandstories.ca/services/brand-story-videos
But in this new template, your service pages will have a different URL structure, which instead looks like this:
https://www.brandstories.ca/brand-story-videos
In this case you’ll want to “forward” any traffic that goes to your old URL over to your new URL. If you don’t, anyone going to your old URL (including Google) will hit a “404 - Page Not Found” error.
Luckily, this is super easy to do. Just follow this guide in Squarespace to learn how to 301 redirect all of your pages that don’t match the URL structure of the new template: https://support.squarespace.com/hc/en-us/articles/205815308
In my case, my 301 redirect rules would look like this:
/services/brand-story-videos -> /brand-story-videos 301
4. Customizing the Template
Squarespace offers virtually unlimited customization options. This can seem a little daunting at first, but once you understand where everything is customizing becomes way, way easier. Use the chapter markers in the video below to navigate to instructions on customizing:
Text
Buttons
Page Sections
Highlight Effects
The Grid System
Backgrounds
Images
Checkmarks
Videos
FAQ’s
Colors
Testimonial Slider
Mobile Optimization
Summary Blocks
Header & Footer
Customizing the header & footer is extremely easy in Squarespace. You can make changes at any time and they will automatically sync to all of your pages. There’s a few key things to keep in mind when customizing the header & footer:
The header links can be customized in the ‘Pages’ section, under ‘Main Navigation’
The footer links can to be customized using ’text links’
Footer links don’t automatically change when you change the
The video below will walk you through a key elements, including:
How to change the logo (& mobile logo)
How to change the style & size of the header
How to customize your social links
How to change the mobile menu design
How to customize the call-to-action
5. Site Styles
Squarespace makes it really easy to change site-wide designs including colors, fonts, animations, buttons and spacing from one central location called the Site Styles. You can access this design panel from the main navigation by going to:5.
Design → Site Styles
Colors
The color system in Squarespace is a little confusing at first, but I promise once you get it it will save you a TON of time & effort. In the video below I’ll show how to:
Set your site-wide color palette
Choose page section colors
Override colors
Buttons
Buttons are extremely easy to use in Squarespace, as you essentially have 3 different “styles” you can customize:
Primary
Secondary
Tertiary
For each style, you can change things like the size, text, shape, outline and spacing.
Animations
Fluid animations are built-in to Squarespace natively, which give your site a professional polish with very minimal effort. Rather than choosing individual animations for each element, Squarespace will apply site-wide animations to keep everything smooth & consistent.
Customization Options
Style (including Fade, Slide and Scale)
Speed (slow, medium, fast)
6. Adding Blog Posts
Blogging in Squarespace is extremely easy, as the core structure is optimized for speed & efficiency while still giving you access to all of the embeddable options that come with page sections. That means you can add a variety of different elements to your blog posts natively, including:
Text
Images
Galleries
Videos
Newsletter Signups
Accordions
Audio
Maps
Code Embeds
Charts
Social Links
7. Using Video Portfolio
The video portfolio is one of my favorite features in this template. The simplicity it offers, combined with the SEO-optimized structure and scalability makes it perfect for videographers, freelancers and agencies of all sizes. Adding videos to the portfolio is super easy, including options for:
Direct to Squarespace (limited)
YouTube (free)
Vimeo (paid)
You can also add custom titles, meta-descriptions and summaries for each video. This will help these individual videos rank better in search results including the increasingly popular ‘Videos’ results page.
8. Customizing Services
The template includes 3 individual service pages that can be customized for any product/service you could offer. By default, these pages are listed as:
Brand Story Videos
Social Media Videos
Case Study Videos
Each page is completely customizable, including the images, text, videos, title and meta-description. Feel free to customize these pages as you see fit. You can even duplicate, add or remove services to more closely reflect your business. The video below will walk you through how to do that.
9. Add to the Template
The template was primarily designed to be used in a “fill in the blanks” kind of way, but if you want to expand your site to include new pages, sections or features to make it your own then go ahead. :)
This video will walk you through some of the options for adding new pages to the website, including an overview of the pre-built pages & widgets available in Squarespace.
10. Connect Forms to Email
The last thing you’ll want to do is connect all of your forms to your email address, so you get notified when someone fills it out.
🚨 There’s three forms to update: 🚨
Newsletter Form (in the footer)
Contact Form (on the contact us page)
Discovery Form
How to connect your forms:
Click on the form (it should have a red line around it)
Click Edit
Click Storage
Click Email and type in your email address
That’s it! Now when a lead fills out the form you will get an automated email letting you know. You can also set up your Google Drive and Zapier integrations to push those form-fills elsewhere if you want (for example into a CRM or a spreadsheet).

11. Phone Graphic Mockup
For the iPhone image on the homepage, I used a free .PSD mockup that I found by an artist called Micro Volume on Gumroad. I also downloaded a free TikTok UI .PSD template and combined it with the iPhone mockup to get what you see here:
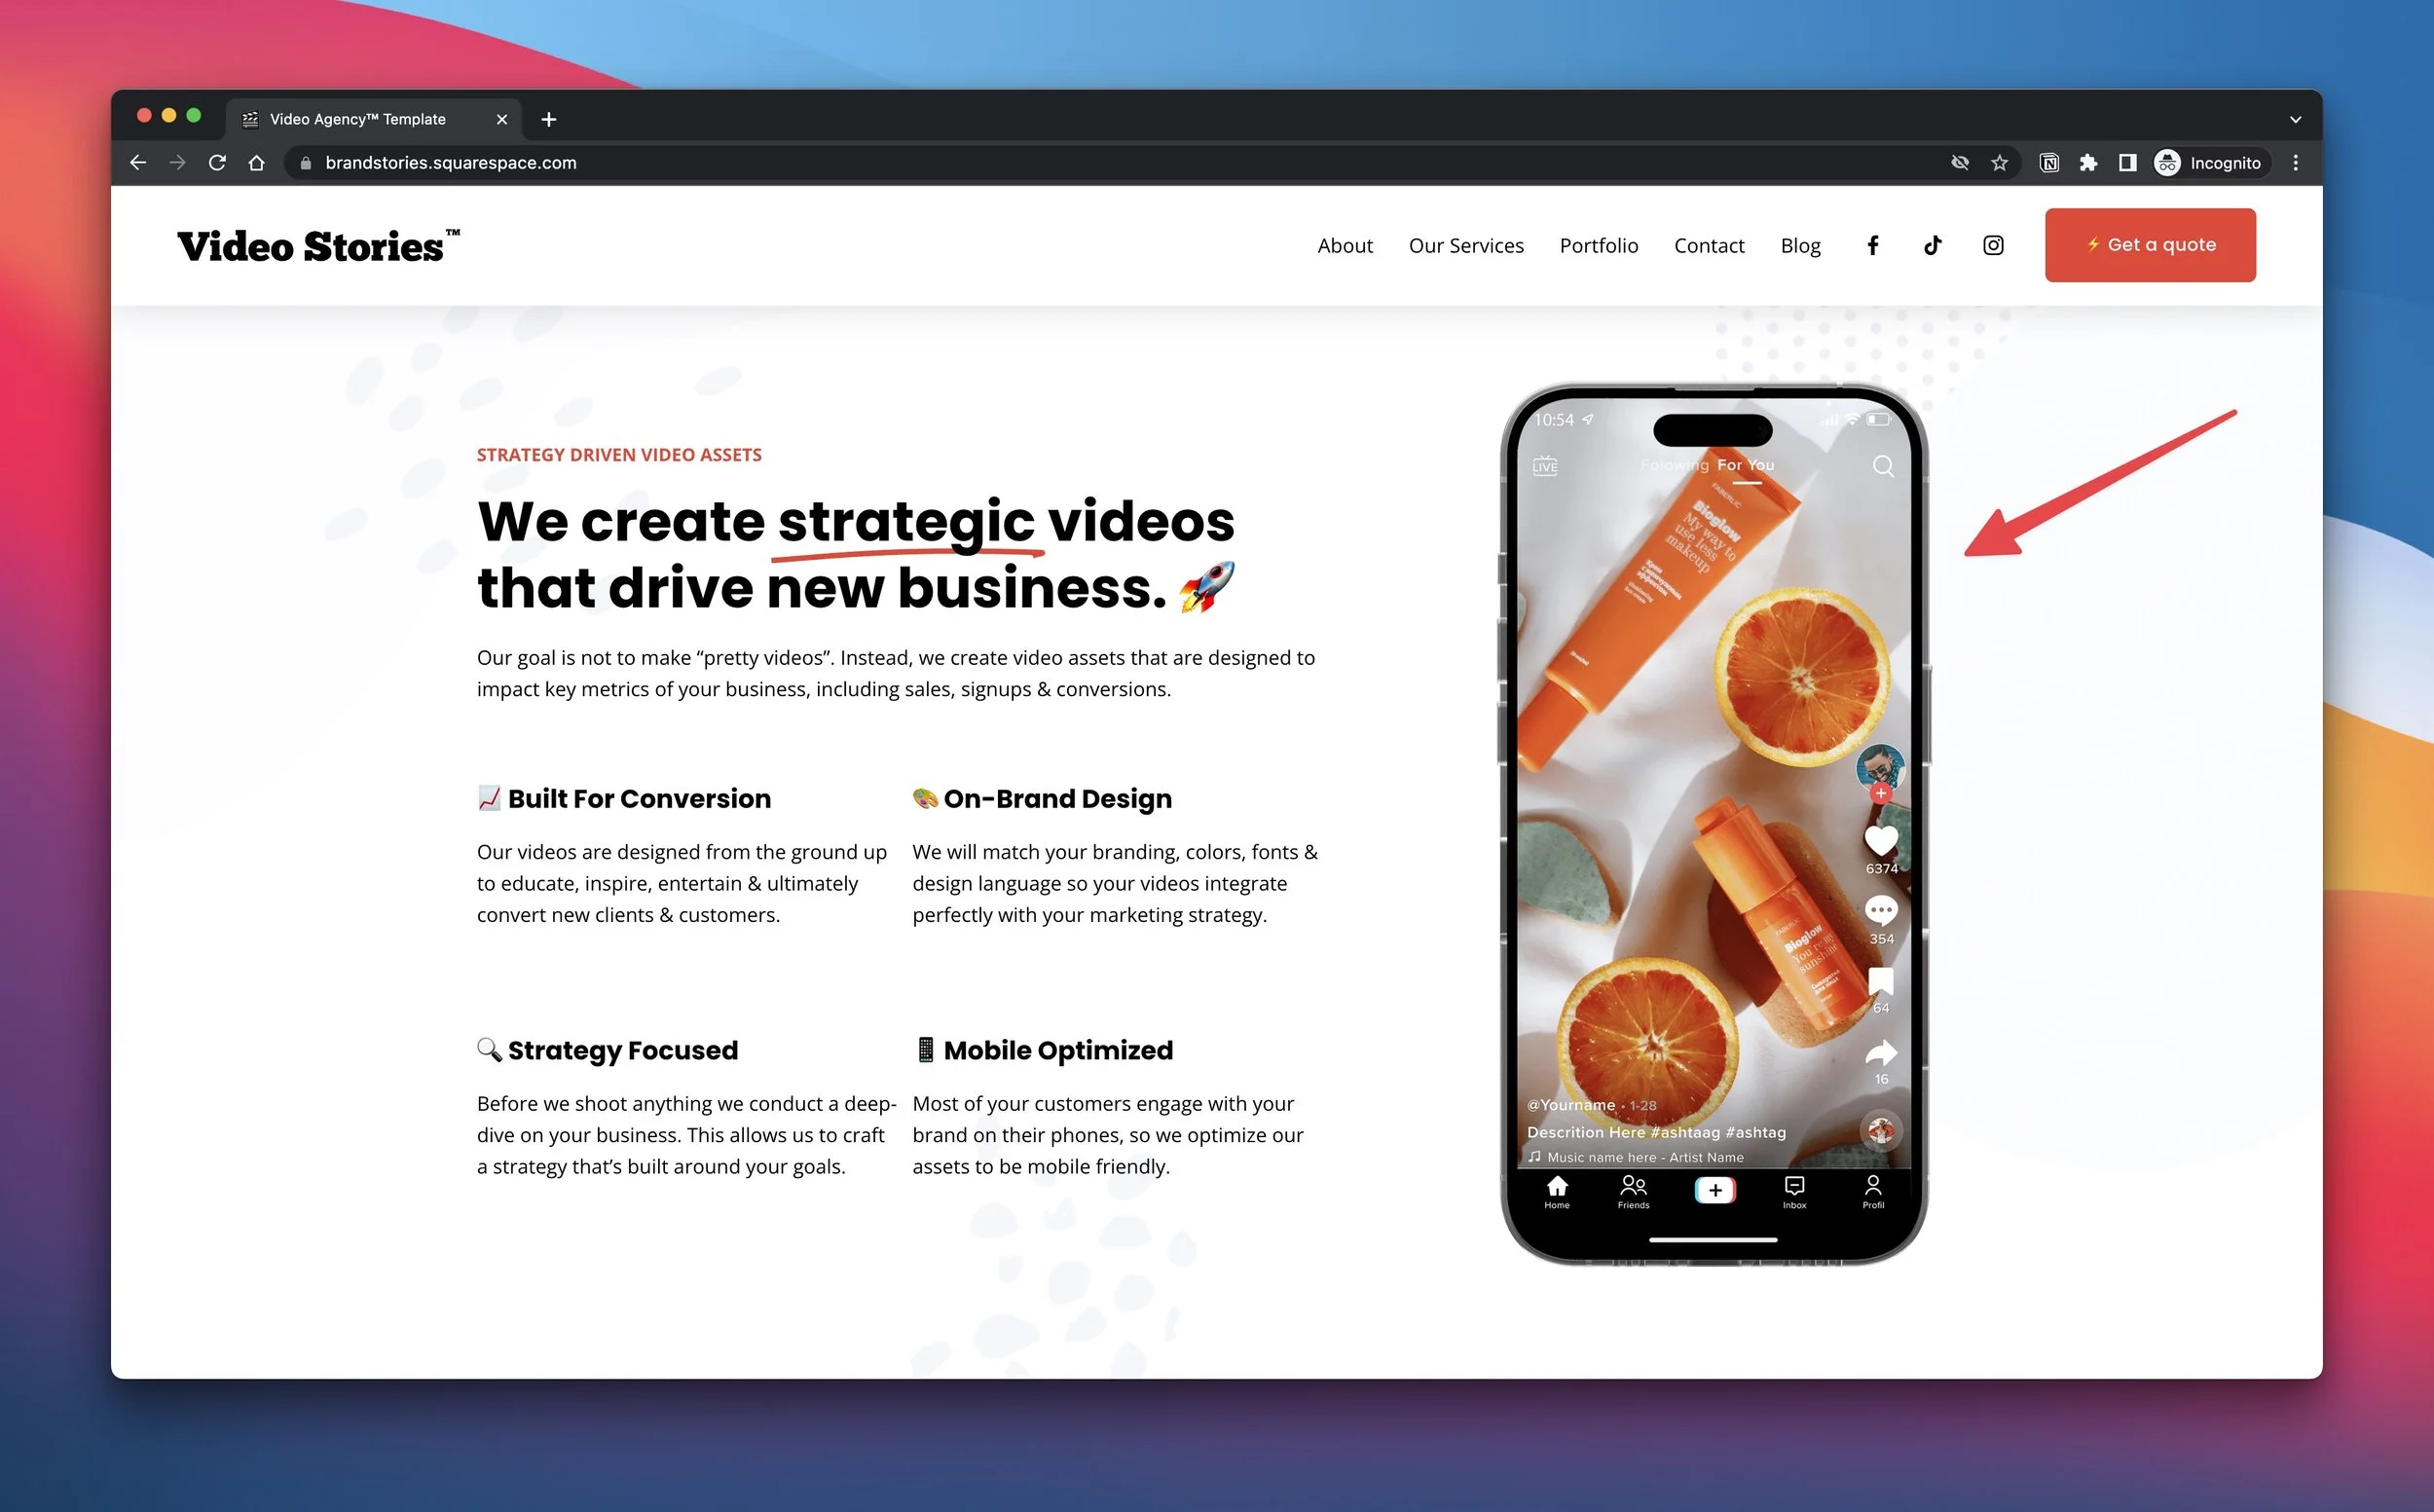
🚨 Tip: Don’t forget that you need to export and size the image appropriately for web. After I was done creating the image, I cropped it down and exported it at a size of 750 x 1527 px, then used TinyPNG.com to optimize it for a smaller file size.
Download Links:
